
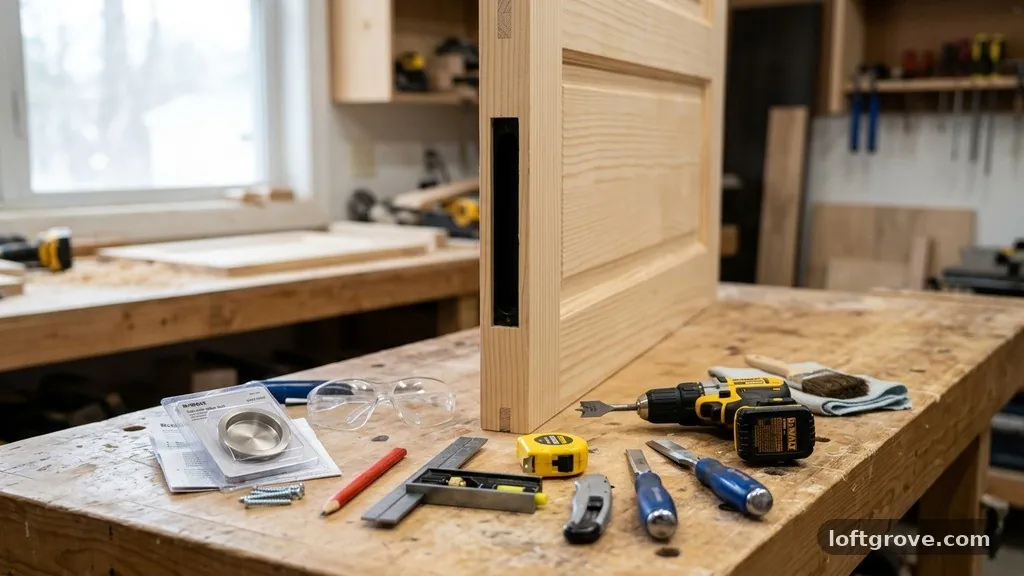
How to Install a Pop-Out Edge Pull for Retrieving a Fully Recessed Pocket Door
Installing a pop-out edge pull for retrieving a fully recessed pocket door is the most effective solution for those annoying moments when a door slides entirely into the wall cavity. Without this piece of hardware, you are often left clawing at the wood or using makeshift tools to catch the edge of the door, which can damage the finish over time.
This project is well within the capabilities of a patient DIY enthusiast who has basic carpentry tools at home. By following a precise layout and routing process, you will ensure your door remains functional and looks professional for years to come.
Preparation and Tool Selection
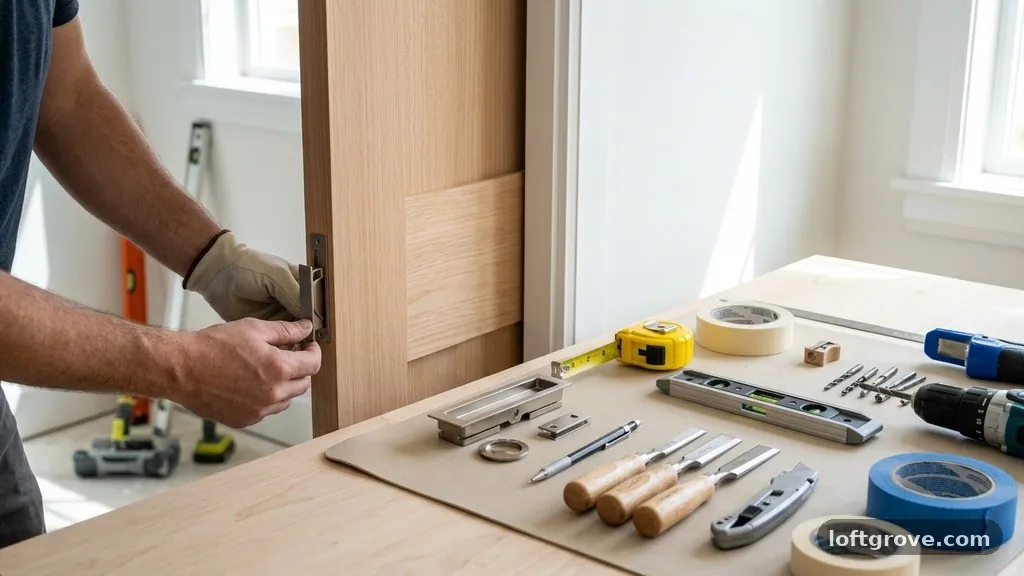
Before starting the installation, you must confirm that you have the right hardware for your specific door thickness. Most standard residential pocket doors are 1 3/8 inches thick, but some solid-core or custom doors may reach 1 3/4 inches.
Always check the manufacturer’s specifications on the packaging to ensure the mortise depth of the pull matches your door’s edge capacity. You do not want the back of the pull to hit the interior structural components of the pocket door frame.
Gathering the correct tools is the difference between a clean install and a damaged door. You will need a sharp wood chisel, a hammer, a drill with a spade bit or forstner bit, and a reliable utility knife.
If you prefer precision, a small palm router is excellent for cleaning out the mortise, though a hand chisel works perfectly well if you have a steady hand. Masking tape is also essential for protecting the door finish while you mark your lines and drill into the wood.
Marking the Door Edge
Precision in the marking phase determines how well the hardware sits flush against the door. You should typically install the pull at a comfortable height, usually around 36 to 40 inches from the floor, depending on your preference.
Use a pencil to mark the exact center of the door’s edge at your chosen height. If the door has a finish, use a piece of blue painter’s tape over the area to prevent surface scratching while you measure and scribe.
Place the faceplate of the edge pull against the door edge and trace its outline with a sharp pencil or a marking knife. A marking knife is superior to a pencil because it severs the wood fibers, which helps prevent splintering when you start chiseling.
Double-check your measurements by holding the hardware against the outline. If you have any doubt about the alignment, adjust your marks now before you commit to cutting the wood.
Creating the Mortise
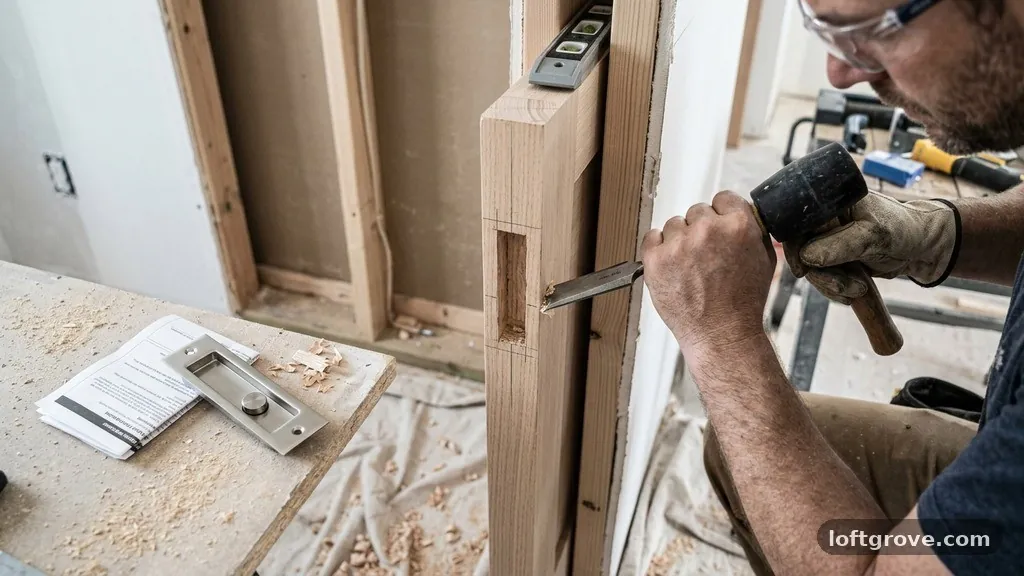
The mortise is the recessed cavity where the body of the pull sits. Start by drilling a series of holes within your marked outline using a drill bit slightly smaller than the width of the pull’s body.
This removes the bulk of the material, making the chiseling process significantly faster and more accurate. Be careful not to drill too deep; check the manufacturer’s depth requirement and wrap a piece of tape around your drill bit as a depth gauge.
Once the holes are drilled, use your chisel to clean out the remaining wood. Always work from the edges inward, keeping the bevel of the chisel facing toward the inside of the cavity.
This technique ensures you don’t accidentally gouge the visible surface of the door. Take your time during this step; it is better to remove too little material and refine the fit than to remove too much and leave an unsightly gap around the plate.
Fitting the Hardware
After the cavity is roughly the right size, test the fit by inserting the pull into the hole. If it doesn’t slide in easily, identify the high spots by looking for compression marks on the wood.
Trim these areas carefully with your chisel and test again. The goal is a snug fit where the hardware stays in place without requiring excessive force, which could crack the door veneer.
Once the body fits perfectly, check the depth of the faceplate. If you want the plate to sit truly flush, you may need to chisel a shallow recess for the lip of the plate to rest in.
This is a common requirement for high-end hardware, as it prevents the edge of the metal from catching on the pocket door frame when the door is in motion. Use a router or a very sharp chisel to create this shallow “shelf” around the perimeter of your hole.
Securing the Pull
With the fit confirmed, it is time to secure the unit to the door. Most pop-out edge pulls come with small mounting screws that must be driven into the door edge.
Pilot holes are non-negotiable here; if you skip them, the wood may split, especially if you are working with hardwood like oak or maple. Use a bit that is slightly smaller than the shank of the mounting screw.
Drive the screws in manually using a screwdriver rather than a power drill. Power tools often move too fast and can strip the small screws or damage the finish if the bit slips.
Ensure the screws are flush with the faceplate so they don’t interfere with the door sliding back into the wall. If the hardware includes a spring-loaded mechanism, test the “pop-out” function several times to ensure it engages and retracts smoothly.
Troubleshooting Common Issues
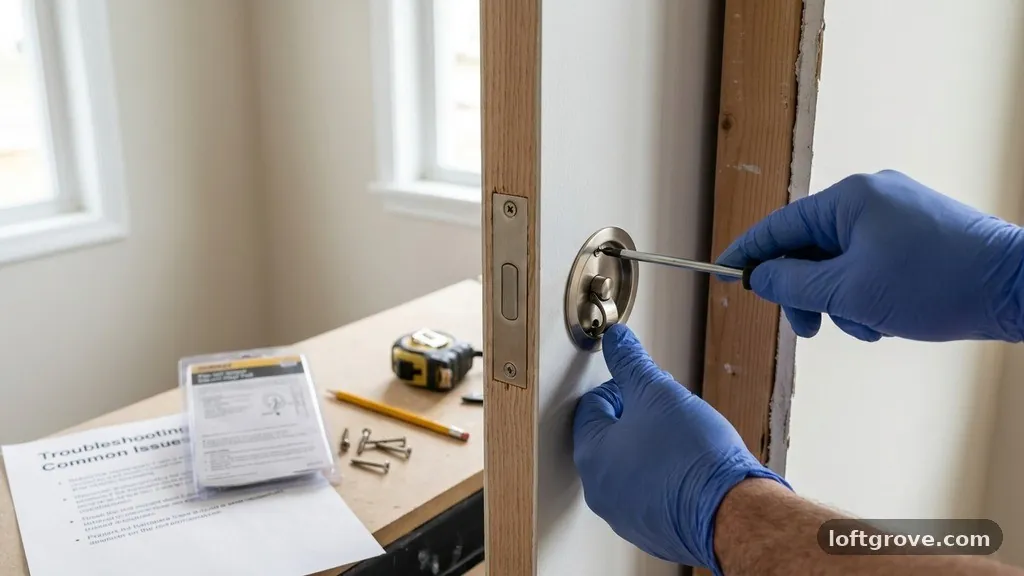
If the pull feels “sticky” or fails to pop out, the most common culprit is a mortise that is slightly too tight. The pressure from the surrounding wood can bind the internal spring mechanism, preventing it from extending when you press the button.
Remove the pull and use your chisel to slightly widen the cavity, particularly around the spring housing. This provides the necessary clearance for the mechanism to operate freely.
Another frequent issue involves the hardware pulling loose over time. This usually happens if the screws weren’t seated properly or if the wood is too soft to hold the threads securely.
If you find the screws are spinning in the hole, remove them and fill the holes with wood toothpicks dipped in wood glue. Once the glue dries, trim the toothpicks flush with the surface and re-drill your pilot holes for a much stronger bite.
Choosing the Right Finish
Matching the hardware to your existing decor is a key step in the process. Most manufacturers offer a variety of finishes, such as satin nickel, polished chrome, oil-rubbed bronze, or solid brass.
When selecting your finish, consider the other hardware in the room, like nearby door handles, hinges, or light fixtures. A consistent look across all metal accents makes the room feel cohesive and professionally designed.
For high-traffic areas, opt for durable finishes like satin nickel or stainless steel, which resist fingerprints and minor scratches better than high-polish options. If you are aiming for a classic or traditional aesthetic, solid brass or oil-rubbed bronze provides a warm, timeless appeal.
Always keep in mind that the finish you choose will be handled frequently, so quality matters. Refer to the National Park Service technical preservation guidance for advice on maintaining quality hardware surfaces.
Comparison of Edge Pull Types
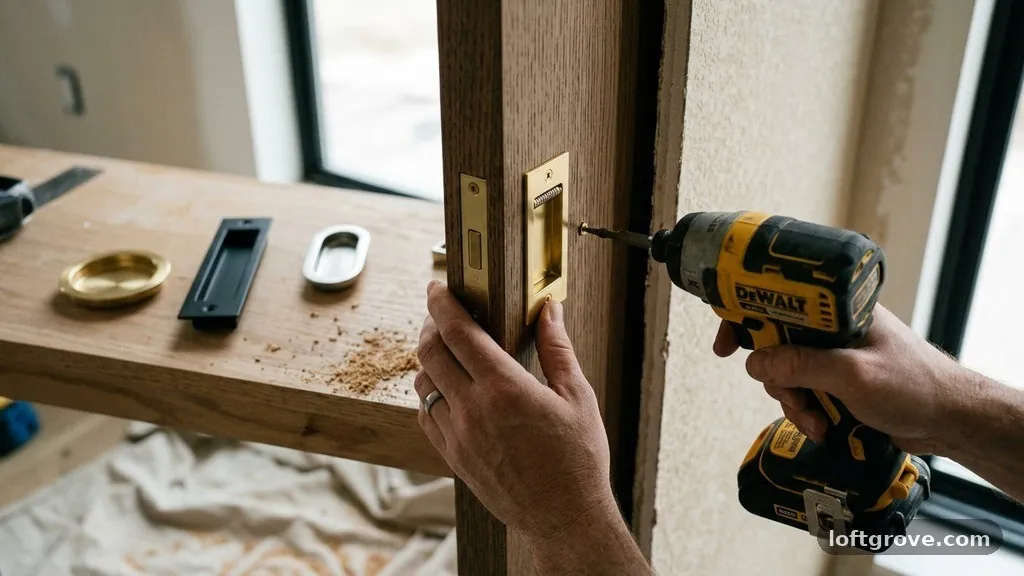
Not all edge pulls function the same way. While the pop-out style is the most common for pocket doors, there are other options depending on the weight and size of your door. Understanding these variations can help you decide if a simple pull is sufficient or if you need a more robust system.
| Type | Mechanism | Best Use Case |
|---|---|---|
| Pop-Out Pull | Spring-loaded button | Standard residential pocket doors |
| Flush Finger Pull | Fixed recessed cup | Lightweight pantry or closet doors |
| Edge Lock/Pull Combo | Integrated latch and pull | Bathrooms or bedrooms needing privacy |
| Magnetic Pull | Magnetized contact | Modern, minimalist aesthetic |
Maintaining the Mechanism
Once your hardware is installed, it requires very little maintenance, but a little care goes a long way. Every six months, check the screws to ensure they haven’t loosened from the constant vibration of the sliding door.
If the mechanism starts to feel stiff, a tiny drop of silicone-based lubricant can work wonders. Avoid using heavy oils like WD-40, as these can attract dust and eventually gum up the internal springs.
Keep an eye on the door edge itself. If the door is constantly slamming against the pocket frame, the impact might eventually loosen the hardware.
Installing a soft-close damper or a felt bumper on the door jamb can protect the hardware from shock. These small additions will keep your edge pull functioning smoothly for years without needing further adjustments.
Safety Considerations
Working with chisels and routers requires a high level of situational awareness. Always wear safety glasses to protect your eyes from flying wood chips, and ensure your work area is well-lit.
When chiseling, always keep your hands behind the cutting edge of the tool. It sounds simple, but it is the most common cause of injuries in DIY carpentry.
If you are using a router, ensure the bit is sharp and the depth is set correctly before you touch the wood. A dull bit is more likely to “kick” or jump, which can lead to damaged wood or personal injury.
If you feel uncomfortable using power tools for this task, do not hesitate to use a manual chisel. It takes longer, but it is much easier to control and significantly safer for beginners.
Frequently Asked Questions
Can I install an edge pull on a hollow-core door?
Yes, you can, but you must be careful. Hollow-core doors have very thin skins over a cardboard lattice. You should use a slightly shorter screw or add a small amount of wood glue to the mortise to help stabilize the hardware, as there isn’t much solid wood to grip.
What is the standard height for a pocket door pull?
The standard height is usually 36 to 40 inches from the floor. This matches the standard height of traditional door handles, making it ergonomic and natural for most adults to reach.
Do I need to remove the door to install the pull?
It is highly recommended. While it is theoretically possible to install it while the door is hanging, having the door flat on a workbench allows for much greater precision. It is much easier to cut a clean, straight mortise when you aren’t fighting gravity.
What should I do if the hole is too big?
If you accidentally over-cut the mortise, don’t panic. You can use wood filler or a small shim of veneer to fill the gap. If the gap is significant, you might need to use a slightly larger decorative plate to cover the mistake, or in extreme cases, patch the area and start again.
How do I choose between a pop-out and a fixed pull?
A pop-out pull is better for a fully recessed door because it stays flush when not in use, keeping the door looking clean. A fixed finger pull is better if you have trouble with dexterity, as you don’t need to press a button to use it.
Conclusion
Successfully installing a pop-out edge pull for retrieving a fully recessed pocket door is a rewarding project that significantly improves the usability of your living space. By taking the time to measure accurately, create a clean mortise, and secure the hardware properly, you solve a common frustration with a permanent, professional-grade fix. Remember to prioritize safety throughout the process, and don’t be afraid to take your time with the manual work.
Once installed, your pocket door will function with a smooth, satisfying motion that adds to the overall quality of your home. If you run into any hurdles during your project, feel free to reach out or consult your local hardware professional for advice on specific materials or techniques.